Team accounts
Team accounts
MailSlurp team accounts let organizations share inboxes, phone numbers, domains, and operational workflows without sharing one login. The core job of this section is to help you structure access cleanly before more people, more environments, and more production messaging land in the account.
What a team account gives you
- multiple users inside one organization
- shared resources where team access is intended
- sign-in through email access links or SAML SSO
- isolated environments for staging, production, or workflow-specific separation

Where admins start
- Organization admin console for seats, users, and organization settings
- Email login portal for one-time-code access
- SAML login portal for IdP-managed sign-in
Recommended setup order
- Create the organization and confirm the team slug.
- Invite users and assign the minimum permissions they need.
- Decide how production and non-production work should be separated.
- Add additional environments if one shared default environment is not enough.
- Configure sign-in policy, including SSO if your organization needs it.
Core governance topics
Roles and permissions
Use least-privilege access from the start. MailSlurp organizations support custom roles and per-user permissions so you can give engineers, QA, marketers, and operators different access levels.
Continue with: Roles and permissions
Environments
Use environments when the same organization needs separate inboxes, phones, keys, and workflows for staging versus production, or for different operating groups.
Continue with: Environments
SAML SSO
If your identity provider manages user access, configure SAML once the organization structure and environment model are settled.
Continue with: SAML SSO setup
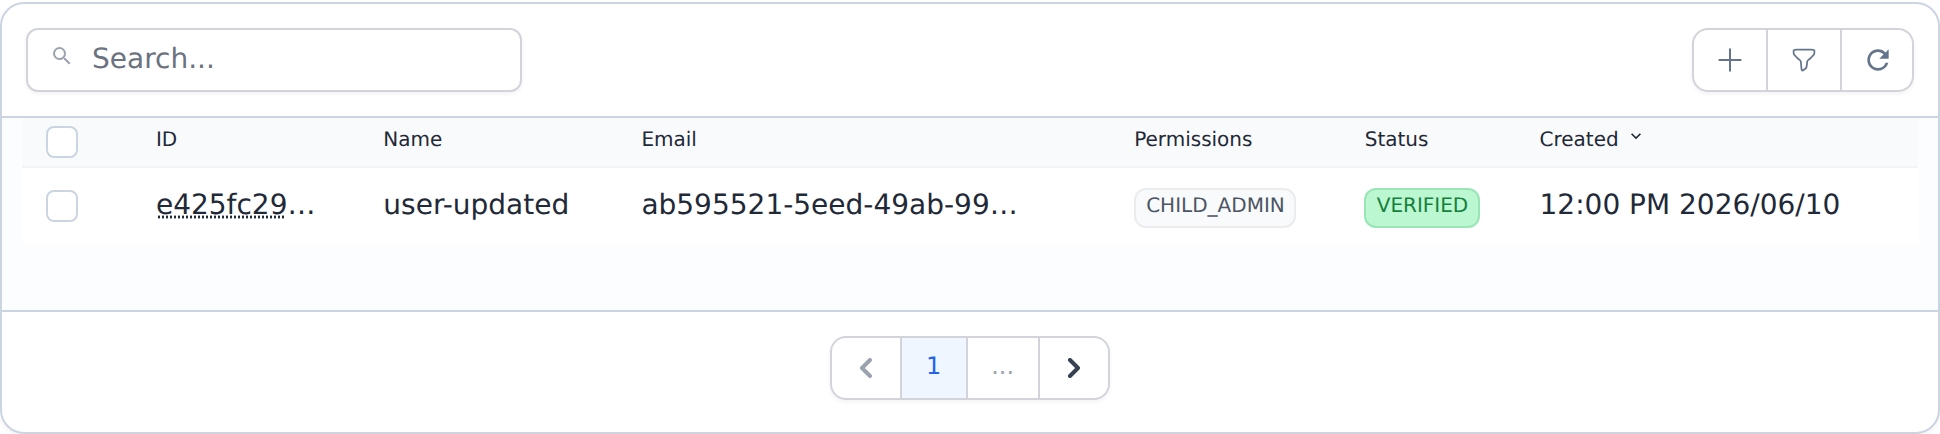
Managing users and seats
Add users
- Open the organization in the dashboard.
- Go to the users or team members section.
- Invite the user by email.
- Assign the correct permissions for their responsibilities.
Remove users
When a team member leaves or changes role:
- Remove their organization access.
- Rotate or revoke any API keys or automations tied to that person.
- Reassign ownership of critical workflows.
Seat planning
- Keep a small seat buffer for onboarding or incident response.
- Review inactive users regularly.
- Make production access intentional, not automatic for every invite.
Shared access expectations
Organizations are the boundary for team sharing. Within that boundary:
- shared inboxes can be intentionally visible to team members
- environment selection changes which resources a user sees
- sign-in policy and permissions stay centralized at the organization level
For collaboration with external teams, use the smallest access shape possible. In many cases that means a separate organization, a guest portal, or a downstream integration instead of broad shared access.