Custom domains
Custom domains allow your to create email addresses on your own domain name (such as my-address@my-site.com). This is useful for testing and production applications and is highly recommended when sending emails to real customers. Using a custom domain rate improves deliverability and reduces the chance of emails being marked as spam.
Quick links
Managing domains
To manage custom domains you can use the MailSlurp dashboard domain page.
Find domains in dashboard
You can create and manage domains in the MailSlurp dashboard then use them with your API integrations.
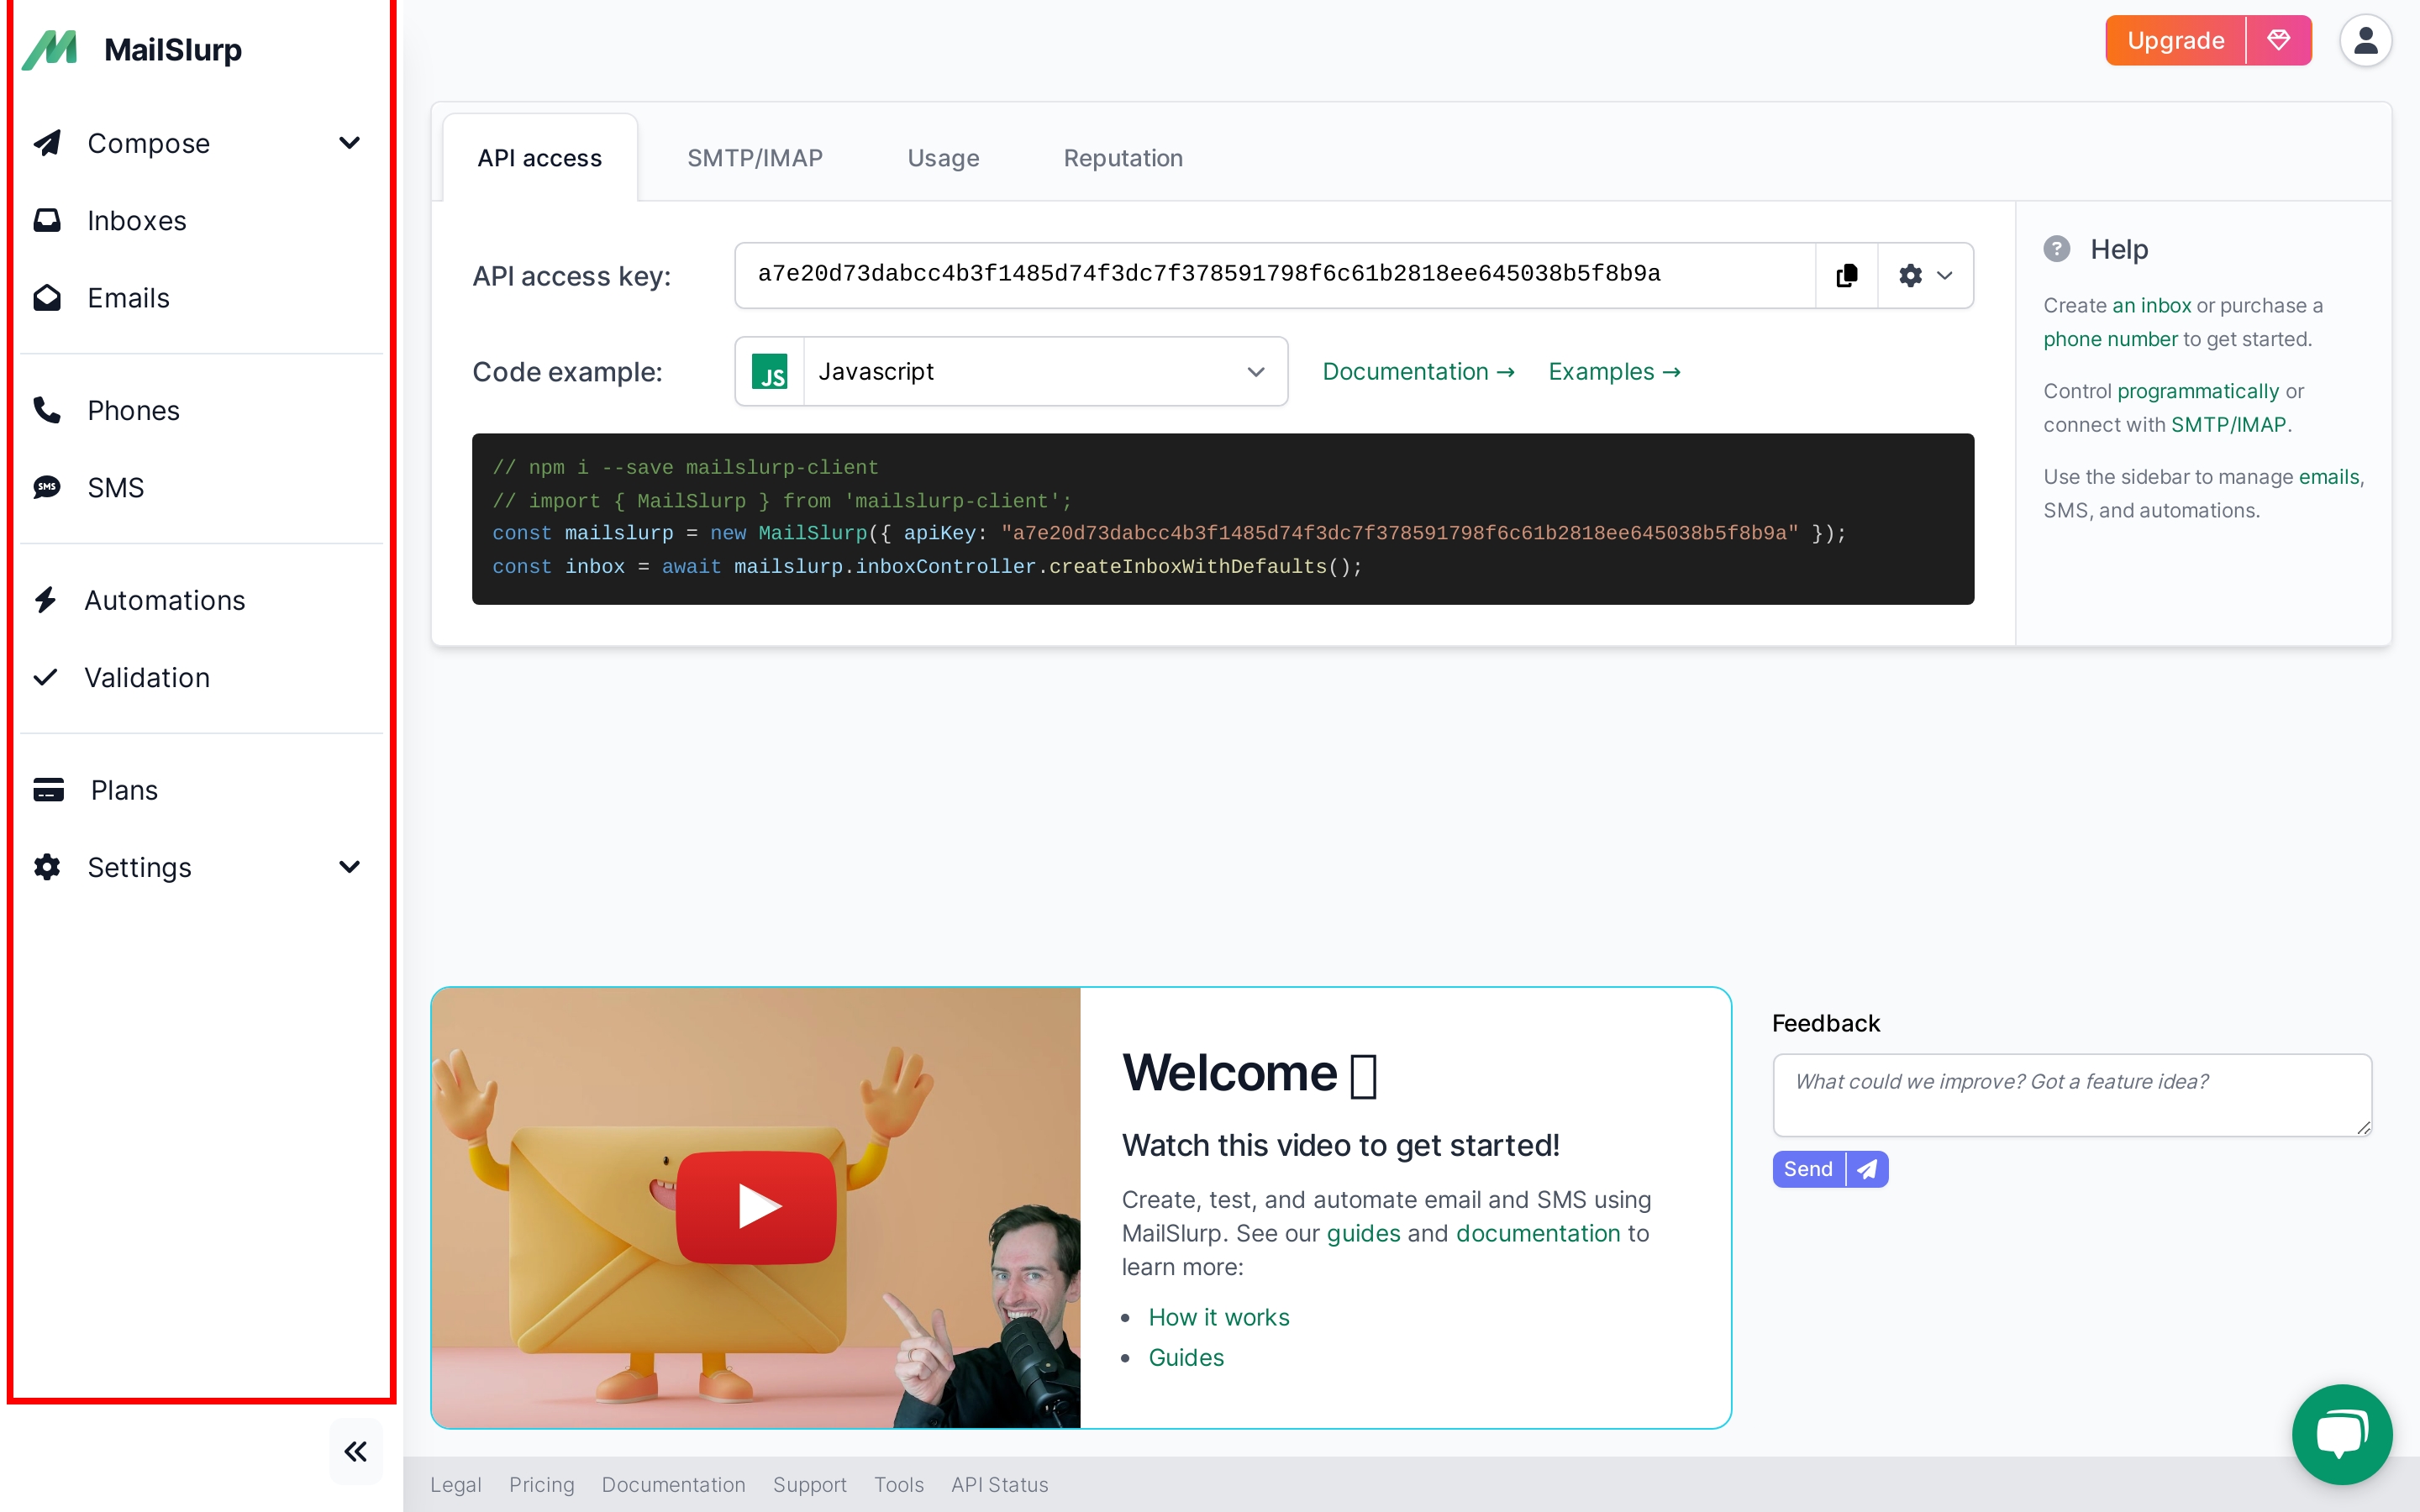 1. Use sidebar
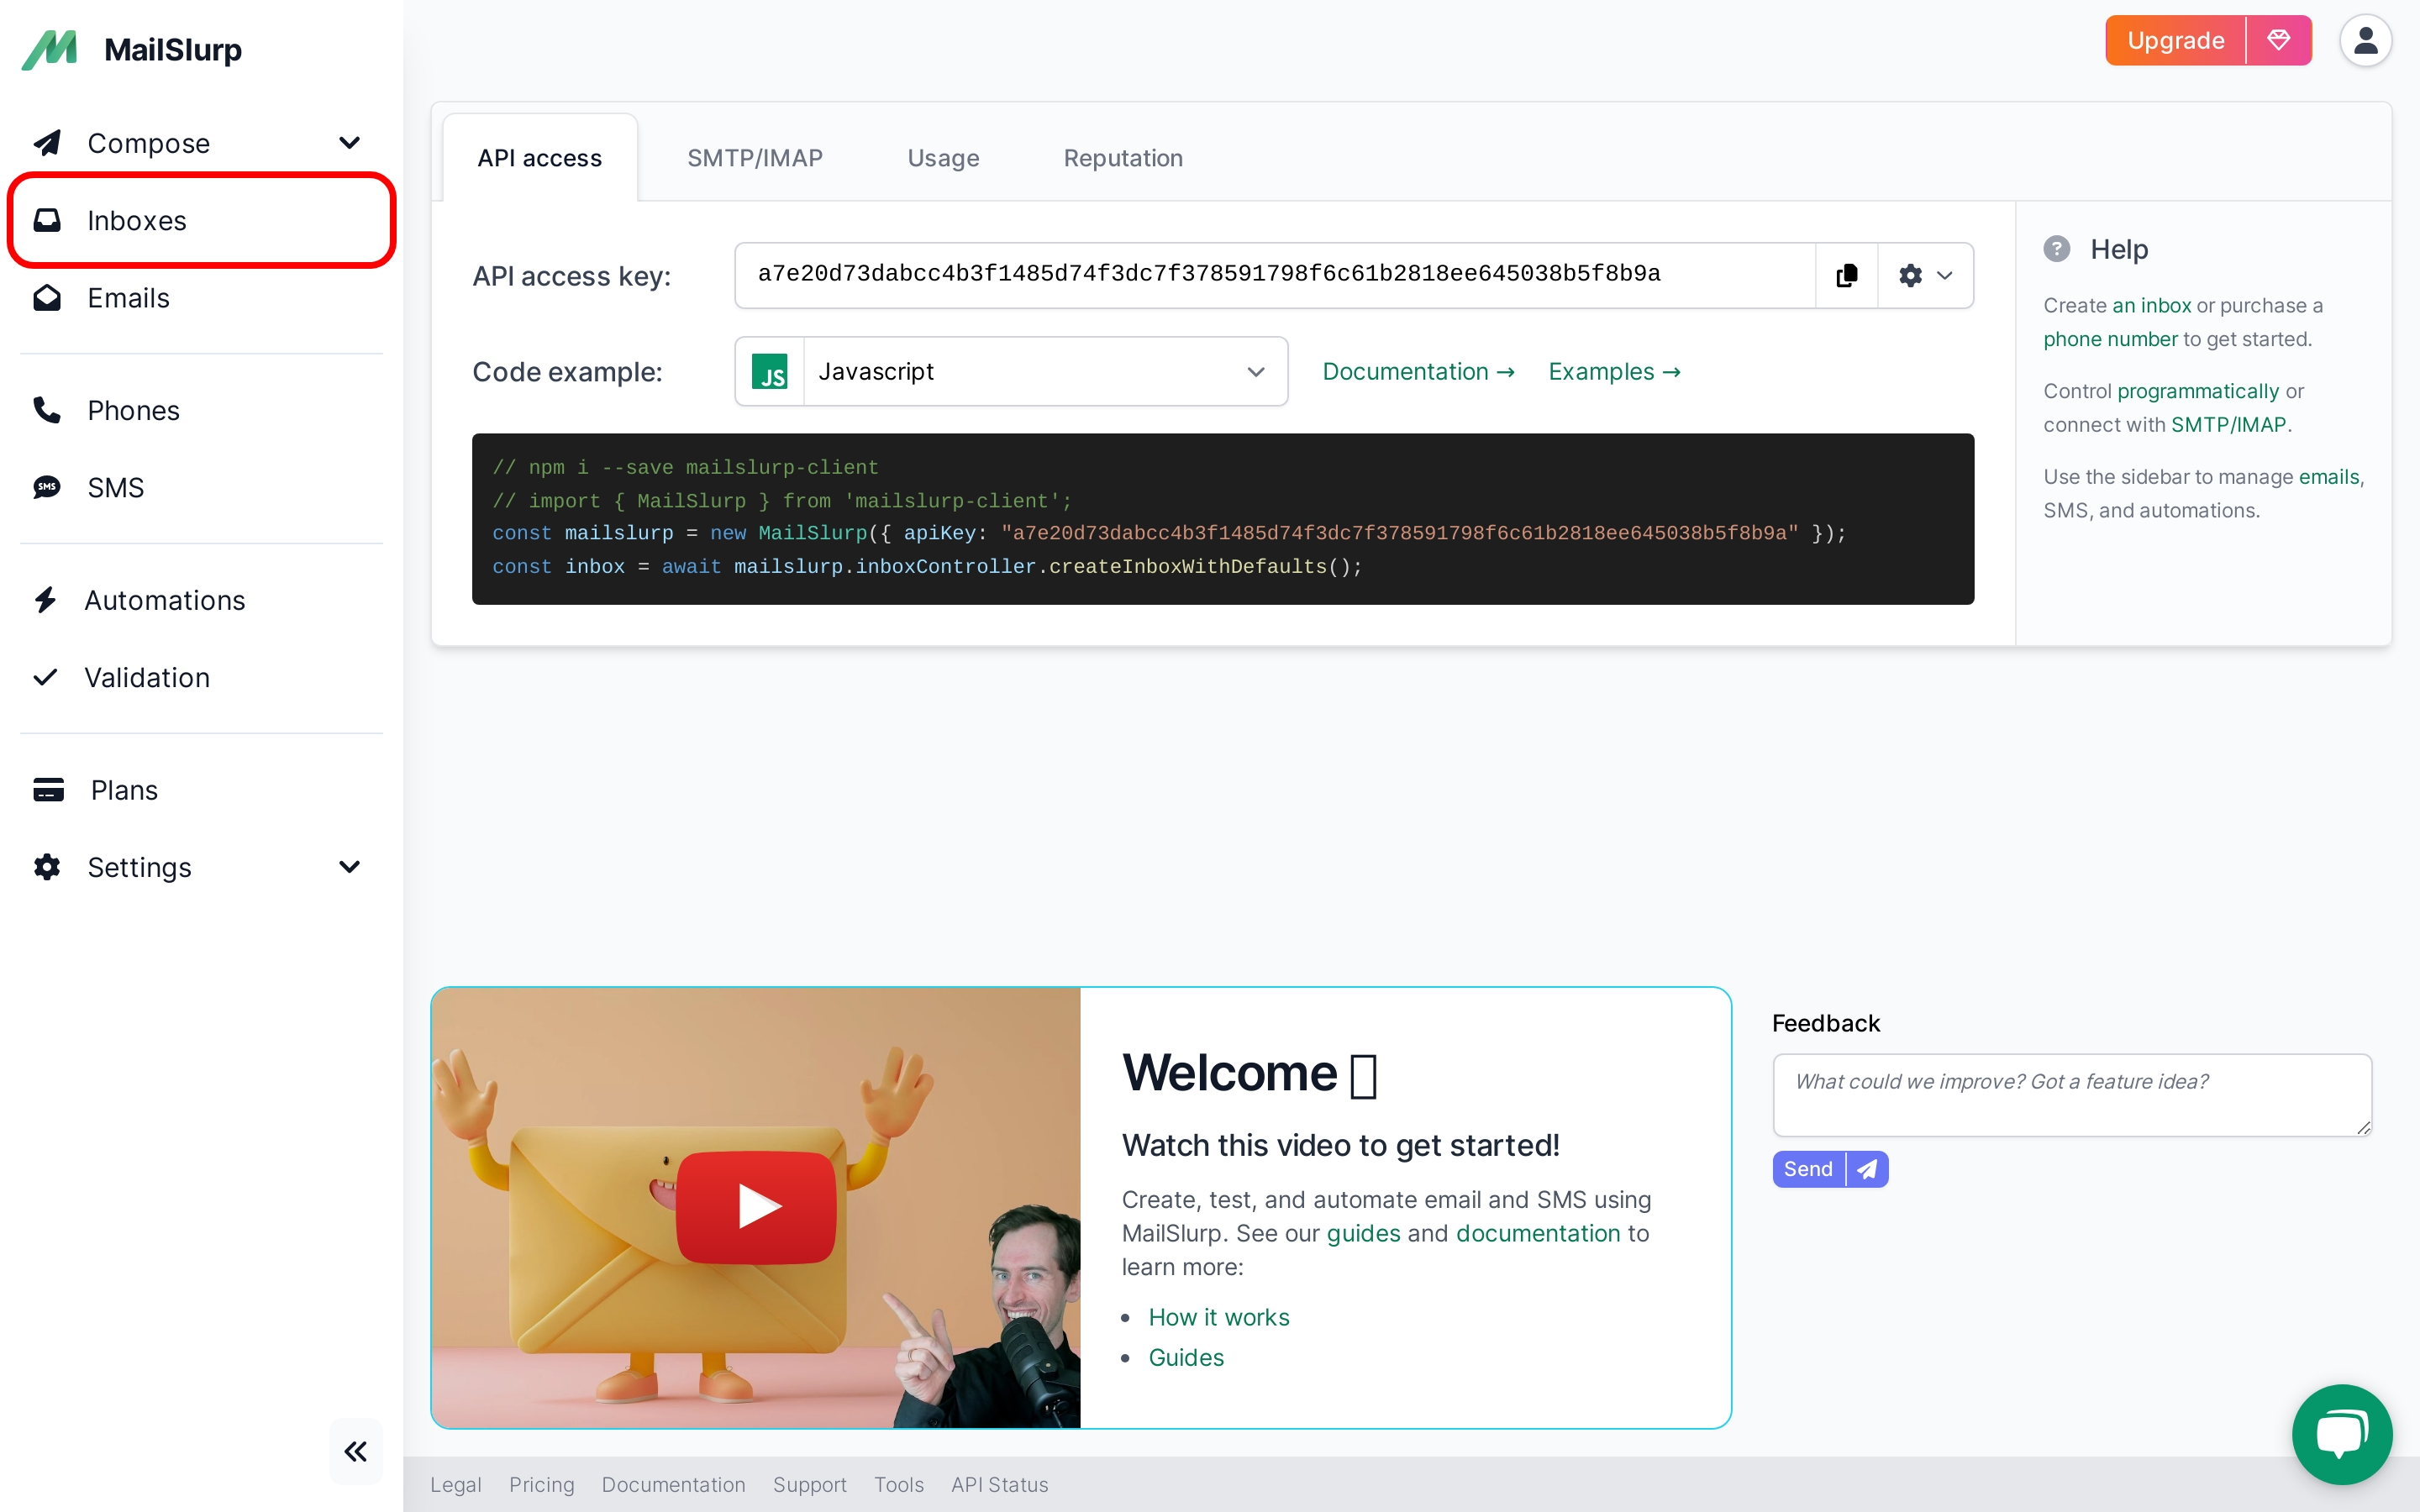 2. Click inboxes
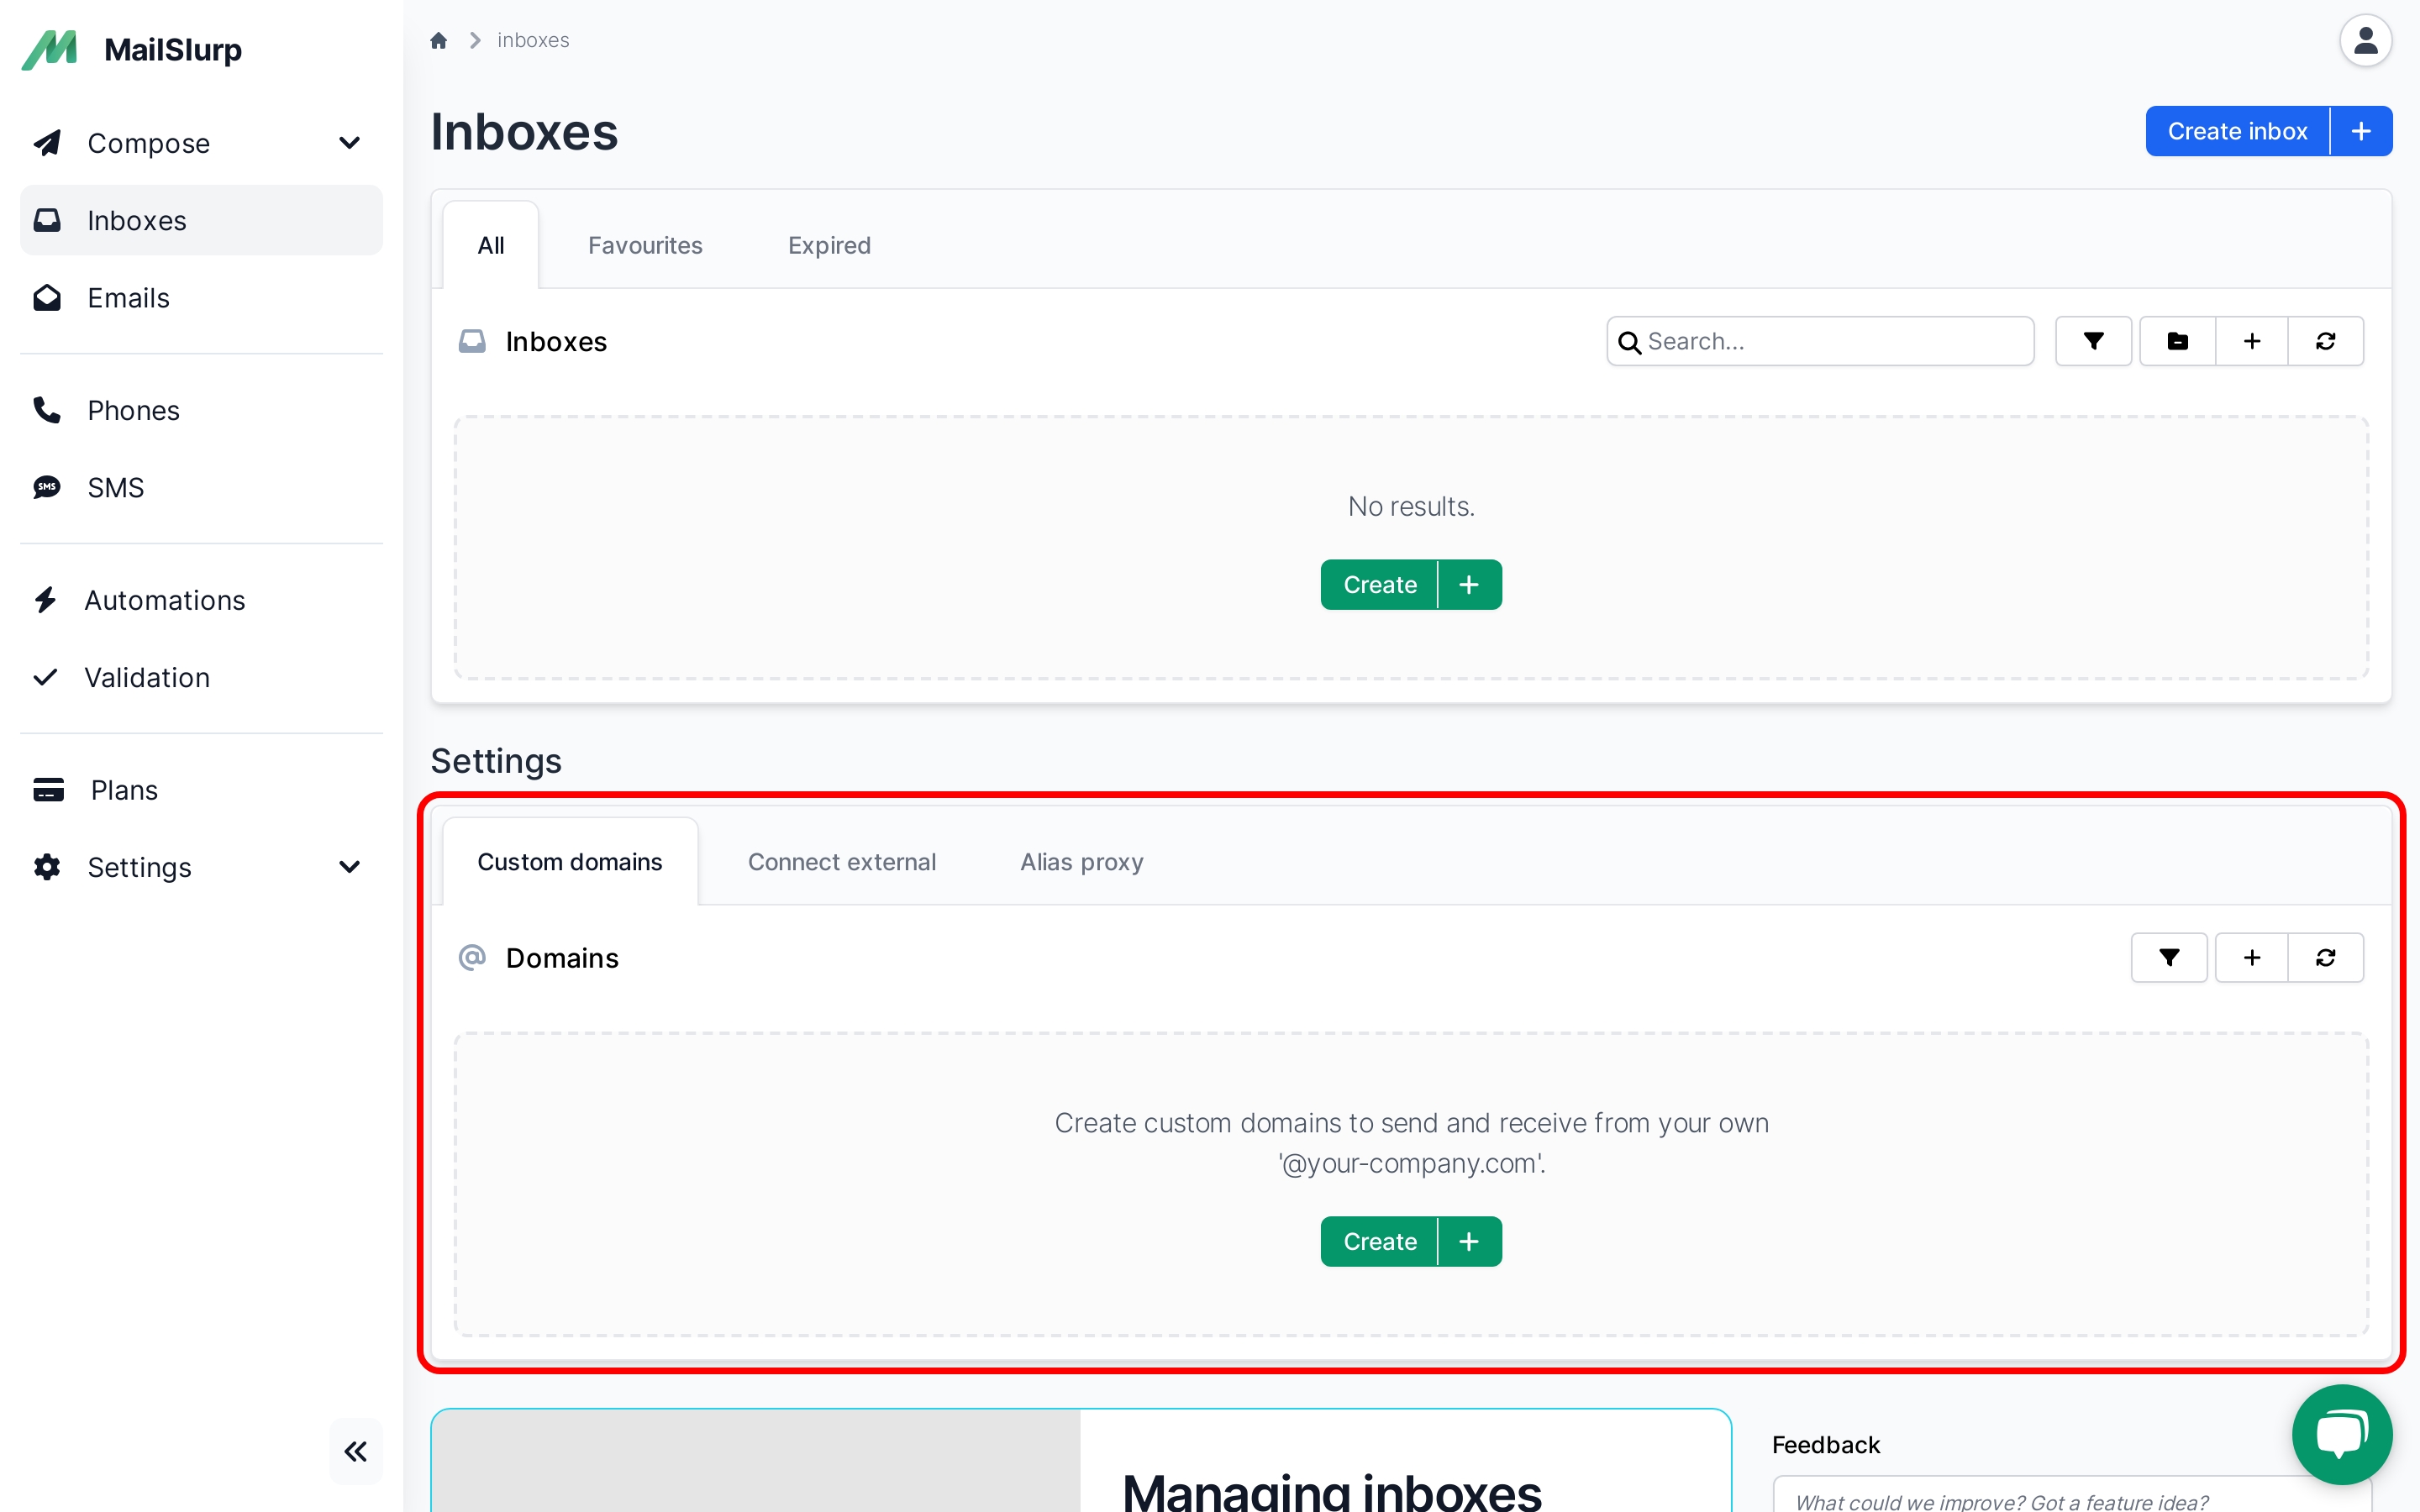 3. Click domains
Creating domains
To create a custom domain make sure your plan supports domains then navigate to the domains section via the inboxes sidebar link.

Ensure you have registered your domain name with a domain registrar first then enter the details into the form. You will need to add a DNS record to your domain to verify ownership. This is covered in the next step.
Verifying domains
To use your domain with MailSlurp you must verify ownership. This is done by adding a DNS record to your domain. The DNS records must all be added exactly as shown on the domain page.
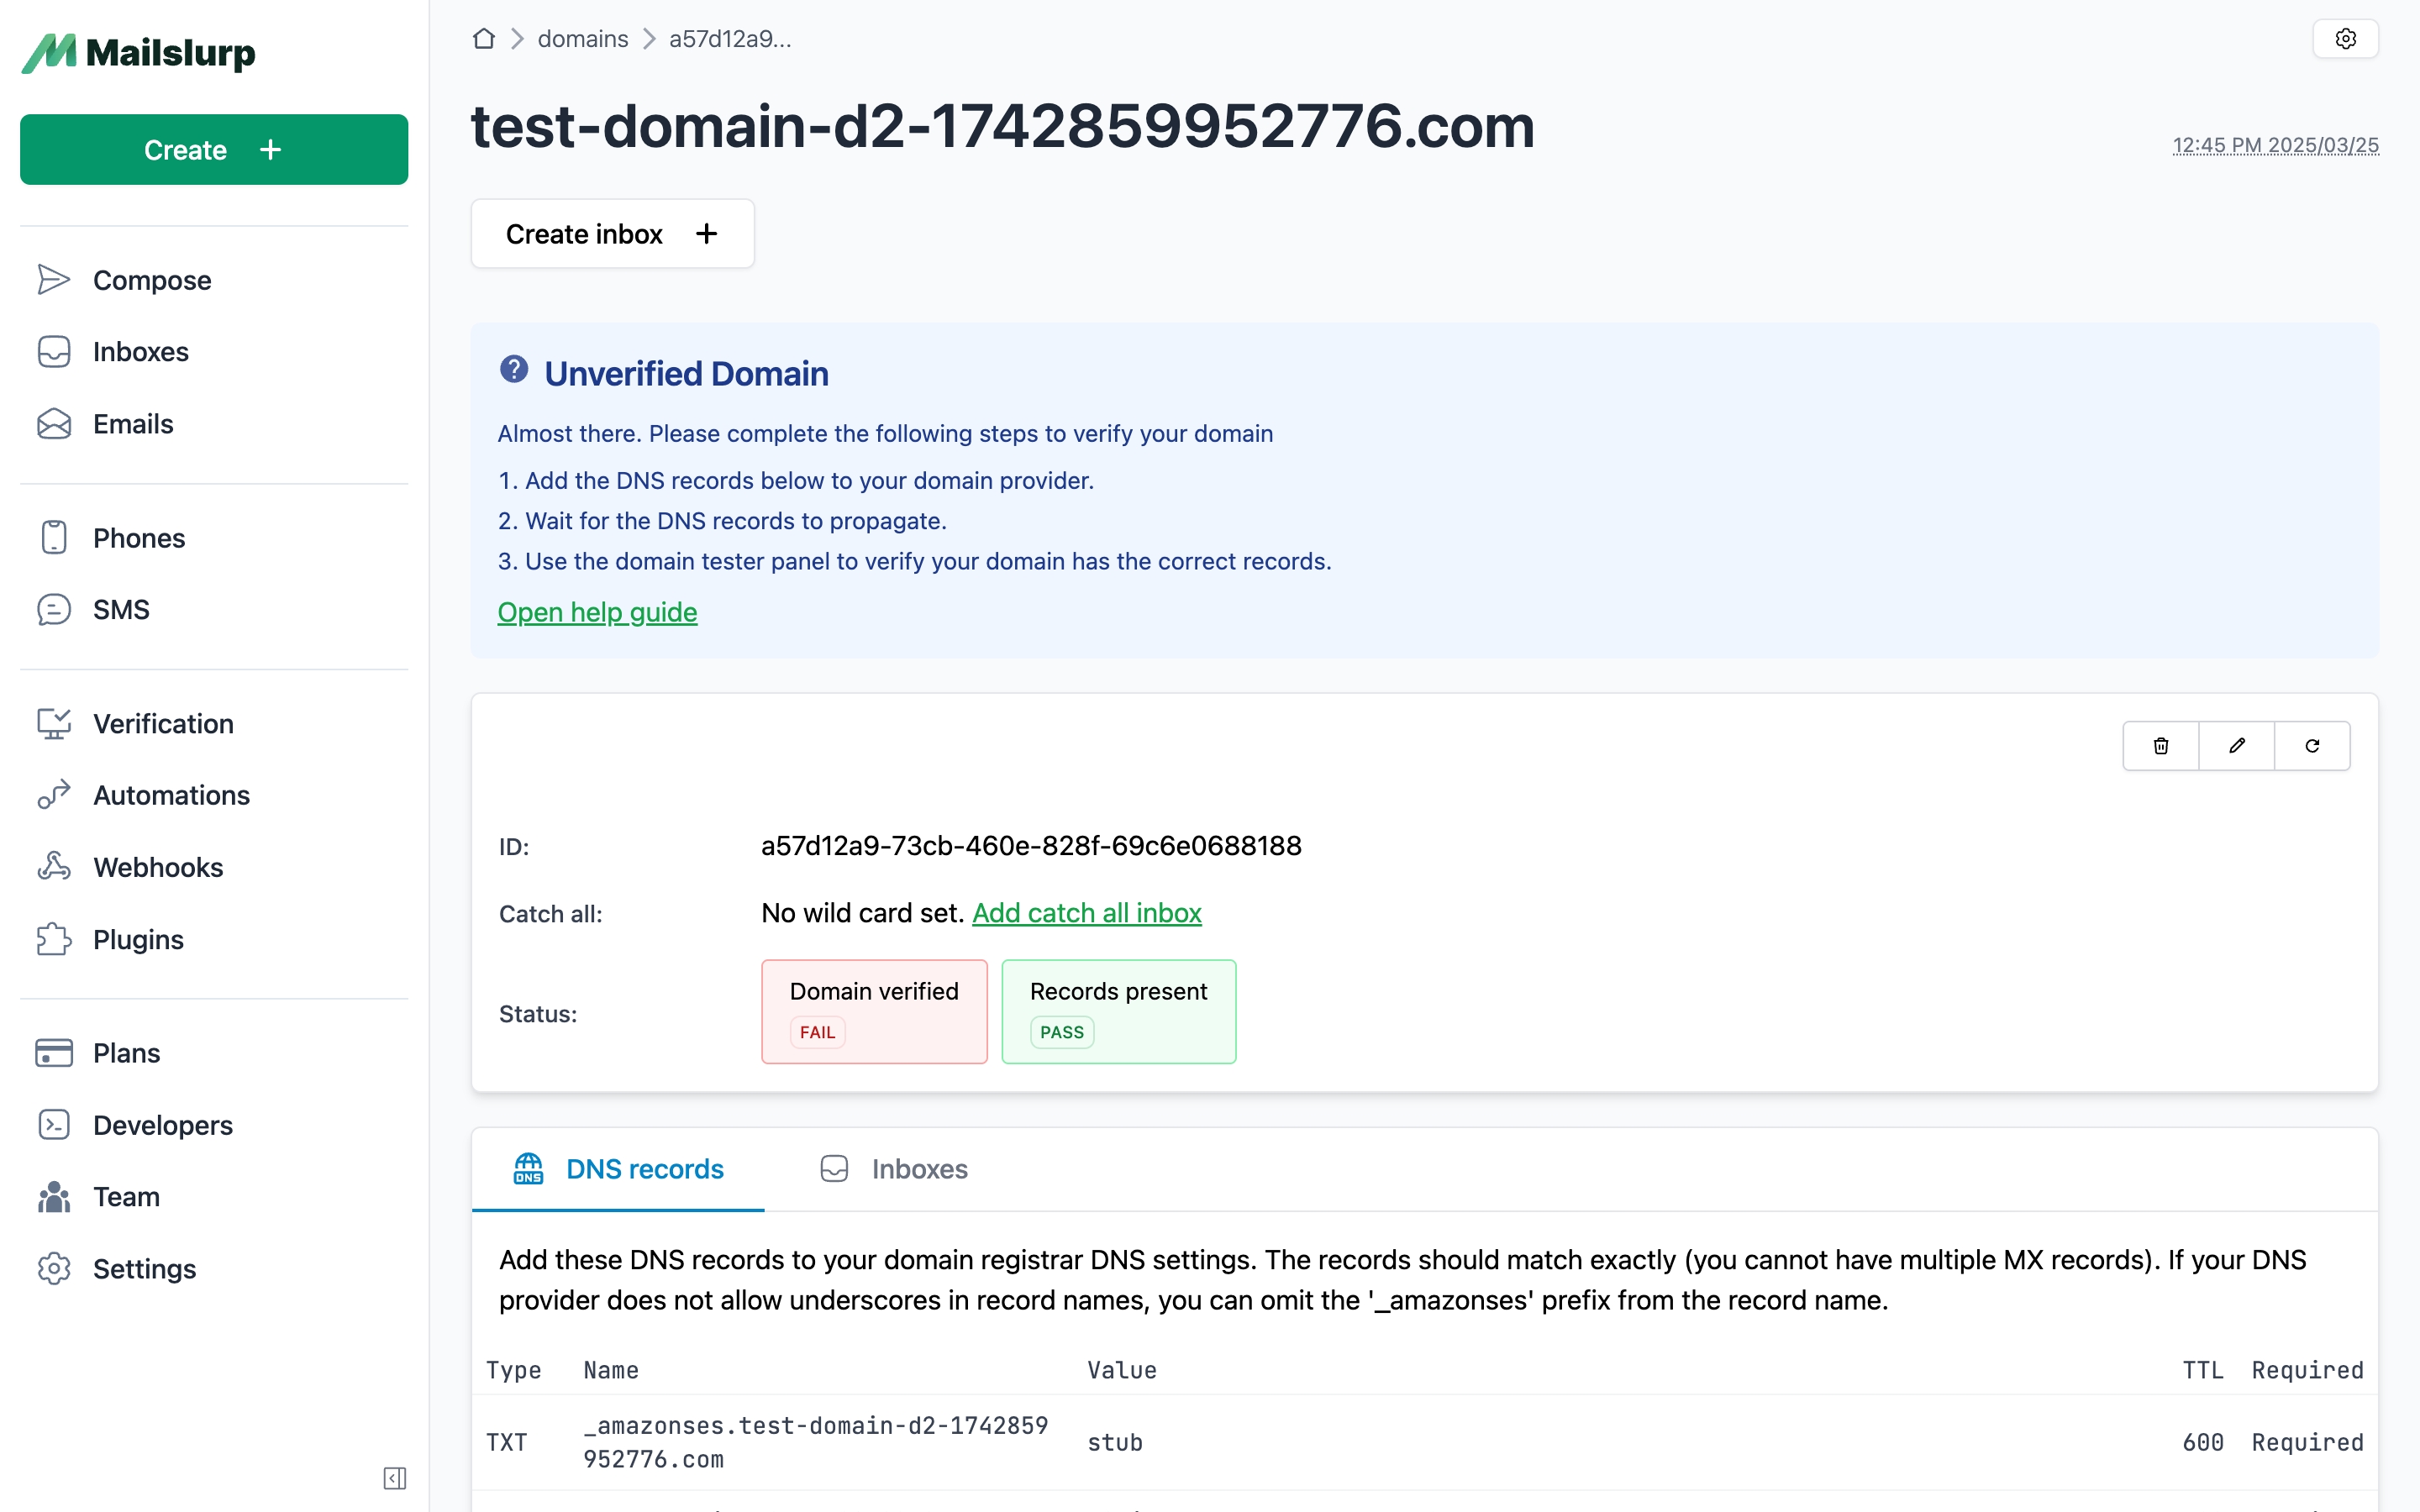
Adding DNS records
On the domain overview page you will see a table with DNS records. You must add these DNS records to your domain registrar DNS settings.
This is an example. Use the unique records provided by the dashboard

It can take up to 72 hours for DNS changes to be recognized. Reload the domain overview page to check your domain verification status.
Creating custom email addresses
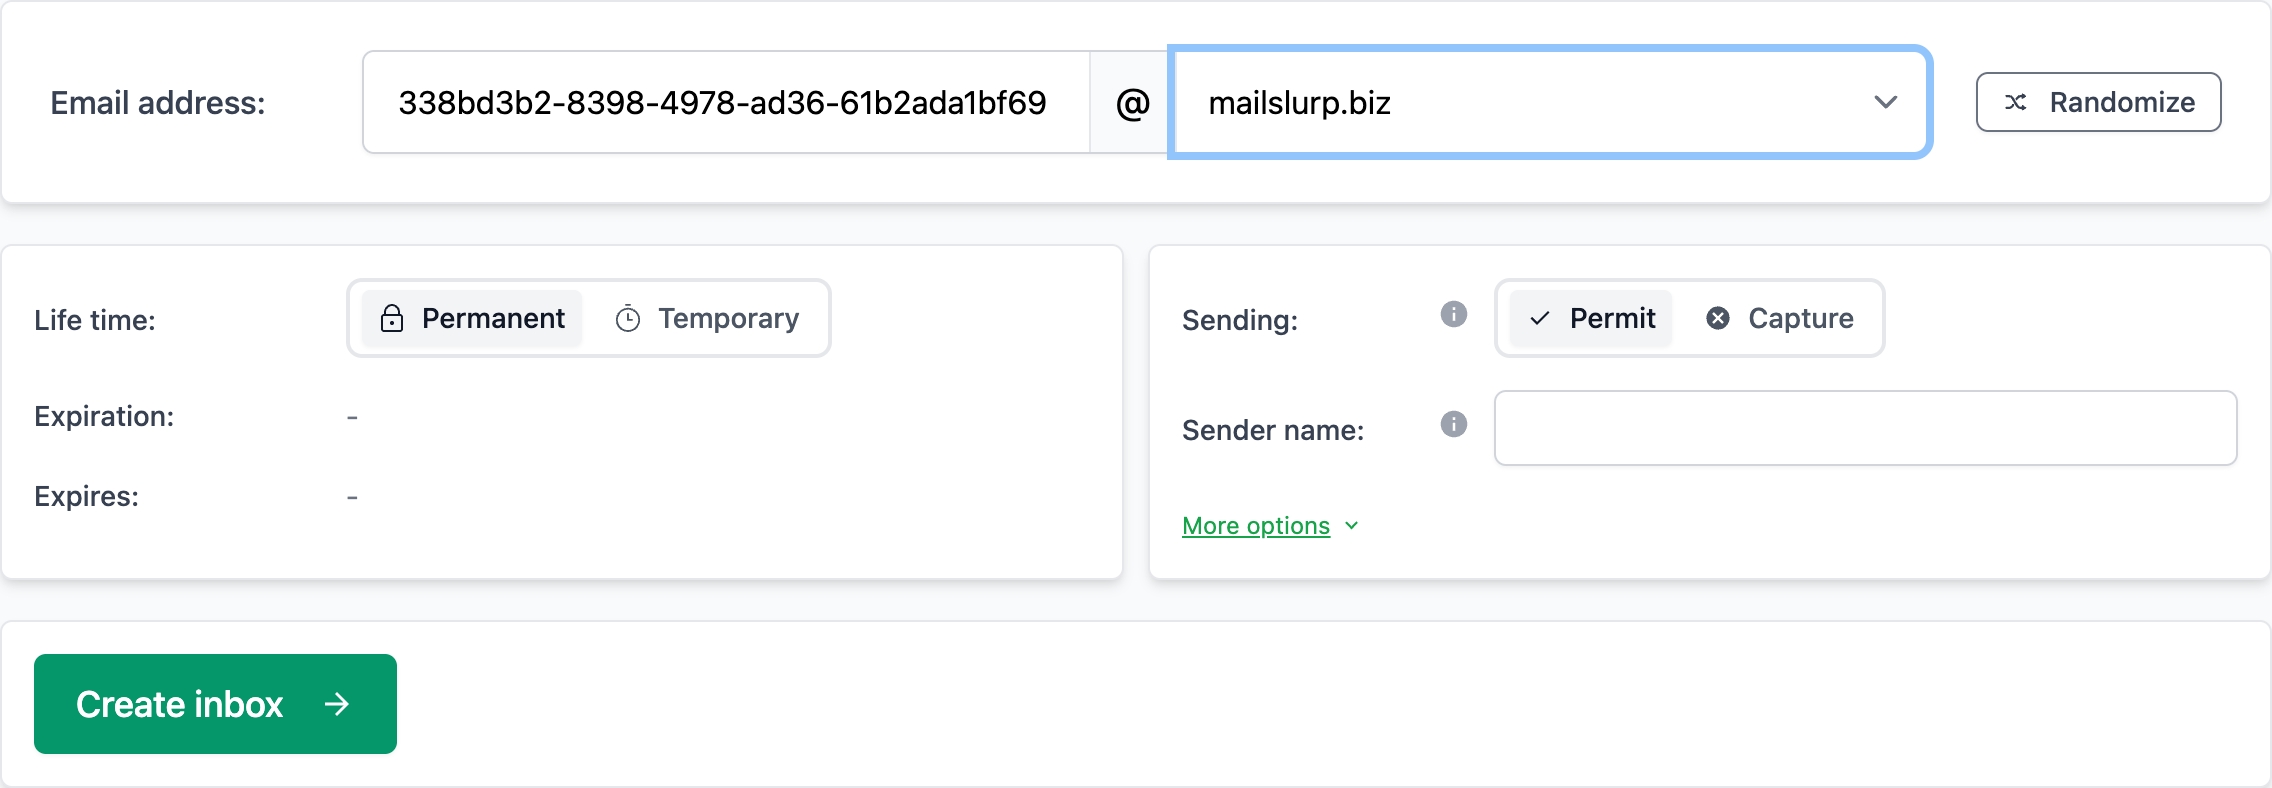
To use your domain with inboxes navigate to the inbox creation page and select the custom domain option. You can then select the domain you want to use from the dropdown and add a local address part as a prefix.
Catch all inboxes
When you create a custom domains a wild card catch all inbox is also created. Catch-all email addresse match all emails that are not addressed to a specific inbox. You can the access the inbox via the domain object in the API or dashboard and use it like a regular inbox with forwarding, auto-replies, rulesets, and webhooks.
const domains = await mailslurp.domainController.getDomains();
const desiredDomain = domains.find(
  (d) => d.domainType === DomainPreviewDomainTypeEnum.SMTP_DOMAIN
);
const catchAllInboxId = desiredDomain!.catchAllInboxId;
Using domains with the API
You can use custom domains with the MailSlurp API. Once your domain is verified you can create inboxes using the domain in an address like so:
await mailslurp.inboxController.createInbox({
  emailAddress: 'test@mydomain.com'
})